
A garage door strut that is wearing out means a door that falls unexpectedly or resists with every opening. This component compensates for the weight of the door leaf to make the operation smooth and safe. Changing a garage door strut remains an accessible task as long as you follow a precise order and some safety rules. Here are the five steps to follow, from the initial diagnosis to the final adjustments.
1. Preparation and safety before touching the mechanism
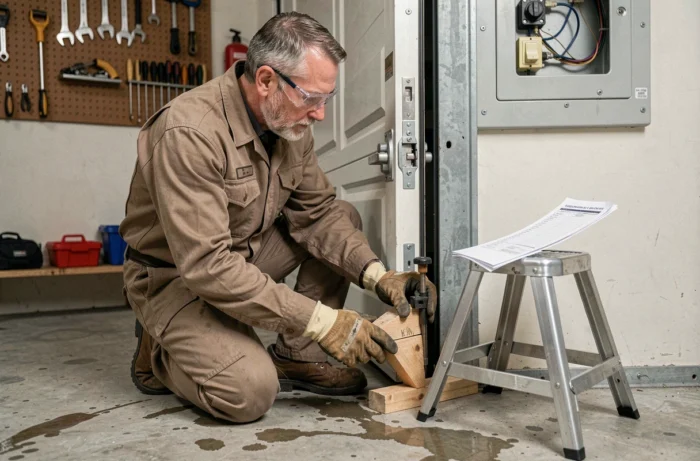
Before disconnecting anything, the door must be in the closed and locked position. On a tilting door, the leaf weighs several dozen kilos. If the strut gives way during handling, the door can fall abruptly.
Disconnect the motor if the door is motorized. Turn off the power at the circuit breaker, not just with the remote control. An accidental command during disassembly can cause unexpected movement of the mechanism.
You may have noticed that guides often mention tools without specifying which ones. Here is the concrete list to gather before starting:
- Two open-end or socket wrenches suitable for the strut’s fixing nuts (often 10 or 13, depending on the model)
- A flat screwdriver to leverage the retaining clips if your strut is mounted with clip-on joints
- Thick protective gloves, as a gas strut under pressure can spray oil during disassembly
- A wedge or clamp to hold the door closed if the lock alone is not sufficient
Knowing how to change a garage door strut starts with this preparation phase, which is often rushed. An oversight at this stage can have consequences during disassembly.
2. Disassembling the faulty strut without forcing
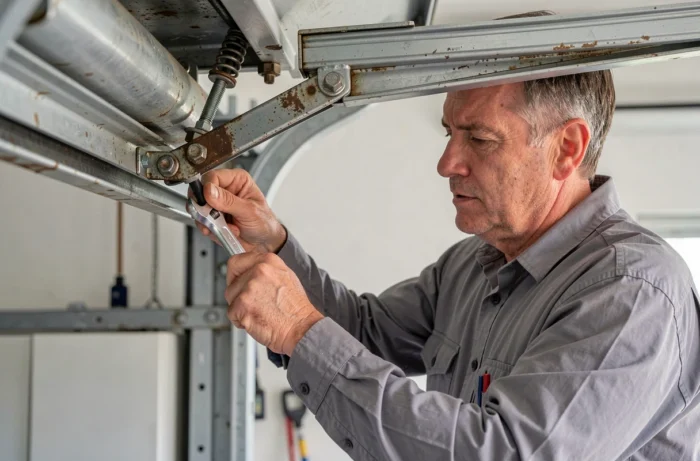
Always start by disconnecting the strut on the door side (bottom part), then the frame side (top part). This sequence prevents the weight of the leaf from pulling on the fixing while you unscrew.
On most gas models, each end of the strut ends with an eye or a joint clipped onto an axis. Remove the pin or safety clip, then slide the strut off the axis. If the joint resists, a slight rotational movement is usually enough to free it.
For bolted fixings, hold the nut on one side with an open-end wrench while unscrewing from the other side. Avoid using a wrench, which can round off corroded nuts. If a bolt is stuck, apply penetrating oil and wait a few minutes before forcing.
Struts are always replaced in pairs. Even if one seems faulty, the other has undergone the same wear. Installing a new strut alongside a worn one creates an imbalance that accelerates the wear of the new one and puts asymmetric stress on the hinges.
3. Inspection and cleaning of the fixing points
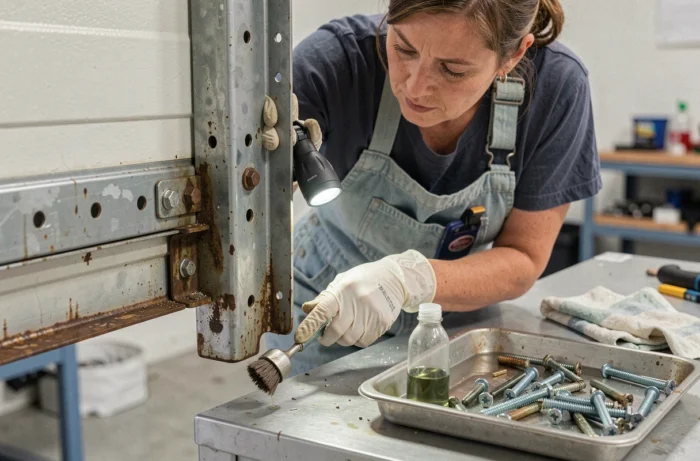
This is the step that many skip, and it often explains why a new strut lasts less time than expected. Once the old strut is removed, examine the axes, supports, and drillings.
Look for signs of rust, deformations, or abnormal play on the fixing axes. An ovalized axis due to wear will not hold the joint of the new strut properly. In this case, replace the axis or support before installing anything.
Clean off any old grease residues and accumulated dust around the anchoring points. A cloth soaked in penetrating oil will do the job. Then apply a thin layer of lithium grease on the axes. This type of grease withstands temperature variations in an unheated garage.
Also check the condition of the hinges and guide rails. A strut compensates for the weight of the leaf, but if the hinges are warped or the rails are dirty, the new strut will be overloaded from day one.
4. Installing the new strut with the right markers
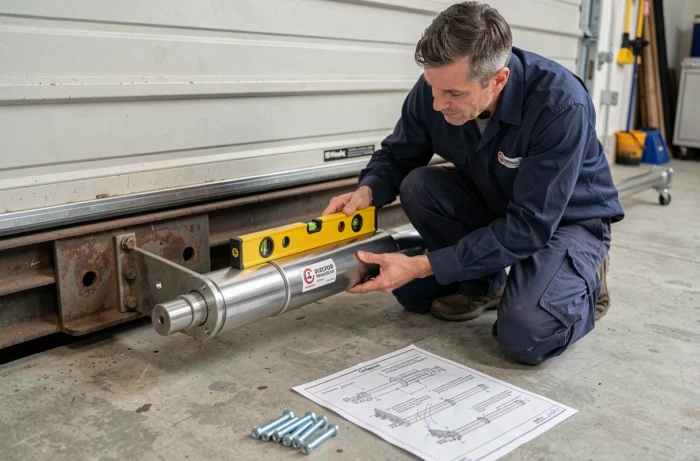
Before fixing anything, compare the old and new struts side by side. The three parameters to check:
- The total length (rod retracted), which must match within a few millimeters to ensure the stroke remains compatible with the door’s travel
- The force in newtons, indicated on the body of the strut, which must correspond to the weight of the leaf
- The type of fixing (eye, clip-on joint, threaded clevis), which must be identical or compatible with your existing supports
A strut that is too powerful prevents the door from staying closed, as the gas pressure constantly pushes towards opening. A strut that is too weak does not compensate enough for the weight, causing the door to fall.
Install the strut starting with the upper fixing (frame side), then attach the lower fixing (door side). This is the reverse of disassembly. This sequence allows you to clip the lower joint without the weight of the leaf hindering the operation.
Tighten the fixings firmly but not excessively. On thin sheet metal supports, overtightening can deform the metal and create play over time.
5. Testing and final adjustments to validate the installation
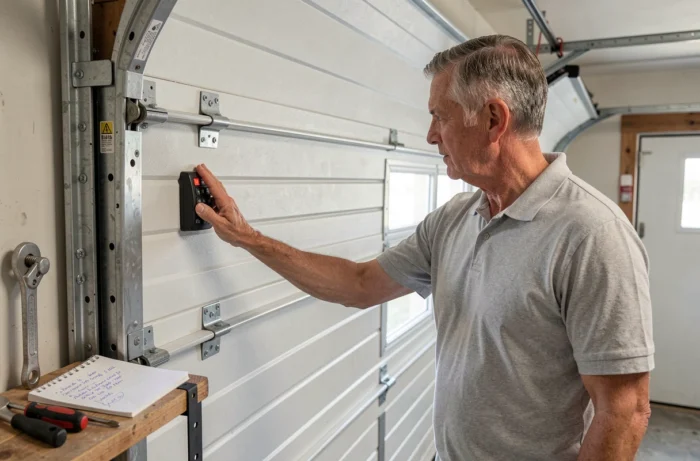
Remove the wedge or clamp, then unlock the door. Open it slowly by hand, without the motor. The door should rise with a steady effort and stay open in the fully raised position without falling back down.
Release the door at mid-course. It should stay in place or move very slowly. If it falls suddenly, the force of the struts is insufficient. If it rises on its own, the struts are too powerful for the weight of the leaf.
Close the door completely and check that it seals well against the ground or threshold. A slight gap at the bottom may indicate that the strut is exerting residual pressure upwards. This issue can sometimes be resolved by adjusting the position of the anchoring point by a few millimeters.
If the door is motorized, reconnect the motor and test a complete cycle in automatic mode. Check that the motor does not strain at the end of the stroke. Most motors have a force adjustment that you can tweak after replacing the struts.
Note the date of the replacement. A garage door gas strut has a lifespan that directly depends on the number of opening and closing cycles. Monitoring the first signs of wear (heavier door, end-of-stroke noise) allows you to anticipate the next change before a strut fails unexpectedly.